What We’ll Cover
We’ll cover creating a basic unit test and using it to test a class. We’ll also discuss some ways
to automate triggering unit tests of a codebase.
I assume the reader has some basic familiarity with the Swift programming language as well as
with tools like make.
Creating the Project
First we’ll start by creating our new project.
First create a directory for your project. I’ll use swiftSVGUnitTesting as my directory. Next cd
into this directory and type
swift package init --type library
This tells Swift Package Manager to create a brand new project of type library. This project will
include target directories for both source code and unit testing. A library is what it sounds like:
A set of code that other folks can pull into their projects and use.
Now open Visual Studio Code and open the swiftSVGUnitTesting directory.
Test Code
Now that we’ve created the project let’s take a look at the automatically generated test code.
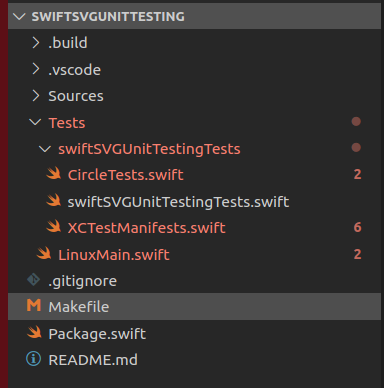
Open up the “Tests” folder. In this folder you’ll see two things: A file called LinuxMain.swift, and
a subfolder that contains two files:
– swiftSVGUnitTestingTests.swift
– XCTestManifests.swift
LinuxMain.swift is simply a driver file that invokes XCTest with all of your unit tests in theswiftSVGUnitTestingTests directory. As for the actual swiftSVGUnitTestingTests directory itself, the XCTestManifests.swift file is automatically-generated. It builds up the list of all tests to be run in the LinuxMain.swift file.
Let’s open the swiftSVGUnitTestingTests.swift file:
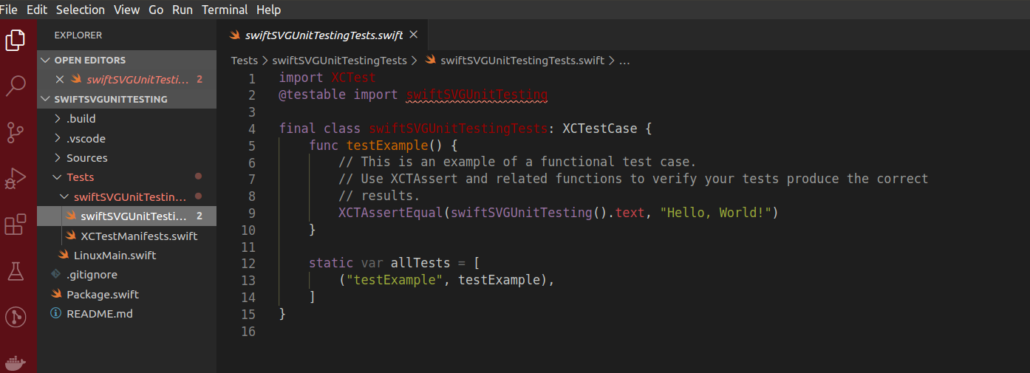
You’ll notice that Swift Package Manager has already created a sample test case. We can use
that to try running the unit tests using SPM.
How to Run Unit Tests
To run your tests you can type swift test from the command line:
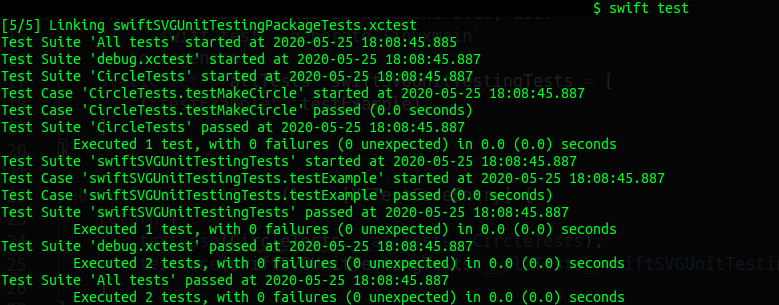
Swift Package Manager has built your code and run all of its unit tests.
Writing Some Code
Let’s develop a simple class called the Circle class. This class takes a pair of coordinates and a
radius and can be used to generate the code for a circle svg element.
We’ll write this class and a test to ensure that it creates the correct element.
In your tests directory, under swiftSVGUnitTestingTests, add a new file called CircleTests.swift, then add the following code to it:
import XCTest

import swiftSVGUnitTesting

class CircleTests: XCTestCase {

    func testMakeCircle() {
        let circle = Circle(centerX: 50, centerY: 50, radius: 40)

        let result = circle.render()

        let expectedResult =
"""
<circle cx="50" cy="50" r="40" />
"""

        XCTAssertEqual(result, expectedResult)

    }
}
As you can see, this test creates an object of type Circle. It then calls a render() method provided on the Circle class, and validates the resulting code.
As a note, the idea here is that you could develop a number of such classes (rectangle, text, etc) and use them to create a kind of SVG DOM (document object model). A render method could be provided that would then iterate through that DOM, building out a full SVG document.
Now let’s write the Circle class itself. In the Sources directory for your project, under swiftSVGUnitTesting, add a file called Circle.swift and add the following code to it to define the Circle type:
public class Circle {

    private let centerX: Int
    private let centerY: Int
    private let radius: Int

    public init(centerX: Int, centerY: Int, radius: Int) {
        self.centerX = centerX
        self.centerY = centerY
        self.radius = radius
    }

    public func render() -> String {
        return "<circle cx=\"\(centerX)\" cy=\"\(centerY)\" r=\"\(radius)\" />"
    }
}
As you can see, a Circle is just a set of coordinates with a render method that produces a very basic SVG element. Your CircleTest is designed to validate this behaviour.
Testing Your Code
As we discussed earlier, Swift Package Manager comes with a test command. This command also lets you build the LinuxMain and its accompanying XCTestManifests.swift file. This comes in handy as otherwise you’d need to manually add to XCTestManifests each time you created a new test case.
To automatically generate the test manifest type
swift test --enable-test-discovery --generate-linuxmain
Do not worry if the command spits out a warning about being unable to discover tests on linux. The command will still build the test manifest file and exit.
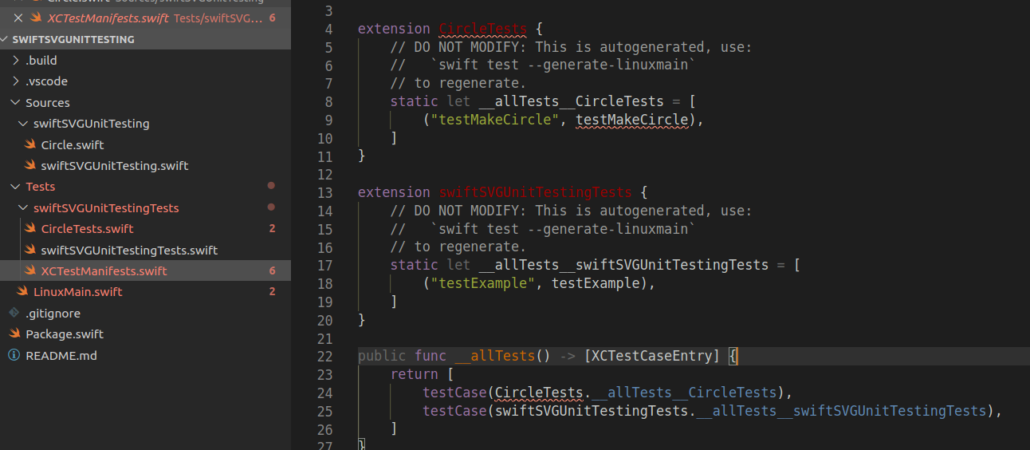
Now, if you open up the XCTestManifests.swift file you’ll see that our CircleTests have been added to the tests to be run:
Now you can run your tests by typing swift test again:
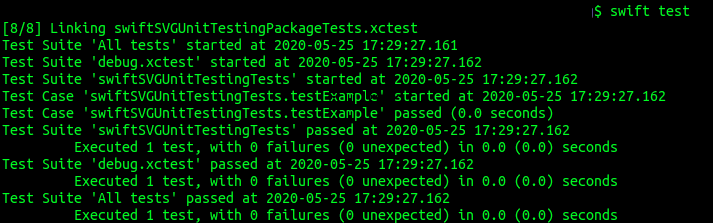
You’ll notice that now the output includes the result of running the CircleTests.
What about CI/CD?
Let’s go through a strategy to automate this process using the make command.
Start by creating a Makefile in your project directory:
Now let’s add some tasks
.PHONY: setupLinux testLinux

setupLinux:
	swift test --enable-test-discovery --generate-linuxmain

testLinux: setupLinux
	swift test
The makefile above will run the commands we have already discussed. I’ve broken the test generation down to its own task (setupLinux) in case we ever wished to re-use it in other tasks in the future.
Now you can simply type make testLinux to both rebuild the list of tests to be run and also to run all the tests.
Conclusion
In this tutorial we’ve covered how to write unit tests for your code in a Linux environment. We’ve also discussed how to add some automation to the process using the make command.
In our next tutorial we’ll cover publishing your swift package so that others can use it. We’ll also discuss how you can use Github’s Actions feature to automate testing your packages.
See you then.
